A Book with Good Bones: on thumbnailing a graphic novel
First, some incredible news:
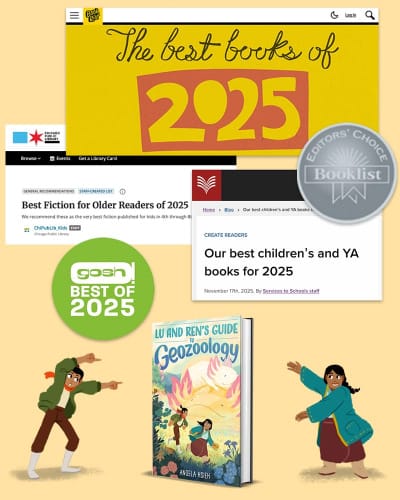
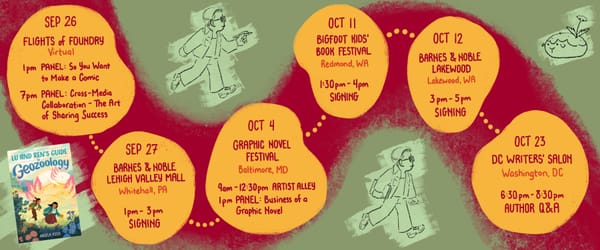
Lu and Ren's Guide to Geozoology is on five (!!!!!) "Best of 2025" lists this year!
Booklist's Editors' Choice 2025
Book Riot's Best Books of 2025
Chicago Public Library's Best Books of 2025
National Library of New Zealand's Best children’s and YA books for 2025
Gosh! Comics's Best of 2025
It's quite the honor to be included on these lists, especially as a debut author. Thank you to everyone who took a chance on Lu and Ren!
I've been meaning to share more about how I make comics. The article below was originally published in the SCBWI Mid-Atlantic Highlighter spring 2025 issue. It offers a general overview of my process, with a specific focus on what I find to be one of the most deliciously challenging parts: thumbnailing!
A Book with Good Bones: Laying the Visual Foundation of a Graphic Novel
How does a graphic novel get made? Sometimes it feels like the answer is: by a series of small miracles. By making mistake after mistake until you’ve accumulated enough experience that that knowledge coalesces into what you might call a process.
It took me over three years to make my debut middle grade graphic novel, Lu and Ren’s Guide to Geozoology. I was writer, illustrator, colorist, and letterer. Every step of making a graphic novel could be an entire course unto itself. I’ll touch briefly on each step, but the main focus of this article will be on thumbnails.
Thumbnails lay the visual groundwork for the pages. It’s the stage where you figure out how best to structure and design your pages. You don’t want to be nearly done with the final art on a page when you realize that the layout makes no sense. You want to make sure the house has good bones before you start decorating the interior, as it were.
Script
Timeline: 4 months (Mar 2021 - Jul 2021) + 12 months for revisions (Jul 2021 - Jul 2022)
It’s worth noting that, at the time of writing this article, there’s no universal standard format for writing a comic script. I write mine in a format similar to a TV or movie screenplay. Some writers lay out the script panel by panel, page by page. Personally, I find that format distracting when I’m just trying to get the story written. Beyond that, I prefer the freedom to play around with layout when I thumbnail.
Thumbnails
Tools: pencil, paper, sticky notes
Timeline: 1 month (May 2022 - Jun 2022)
Thumbnails are where you lay out the visual building blocks of your story. They’re where you figure out the layout and flow of every single page and spread. The time for detail is later. The time for stick figures is now.
I cut out a little cardboard window, roughly 1.5” wide by 2.25” tall, corresponding to the dimensions of my pages. I used it as a stencil to draw page borders for my thumbnails. I’ve since replaced this stencil with a digital template that I can just print out instead of drawing every rectangle by hand.

The most important and, in my opinion, one of the most challenging parts of making comics is flow: guiding the reader across the page in the direction you want them to read. The human eye is drawn towards contrast. Visual contrast can be created by differences in value, color, shape, size, or texture. Keeping all this in mind in the context of an illustration, much less a comic page with multiple illustrations that must come together to create a cohesive whole, is a difficult juggling act.

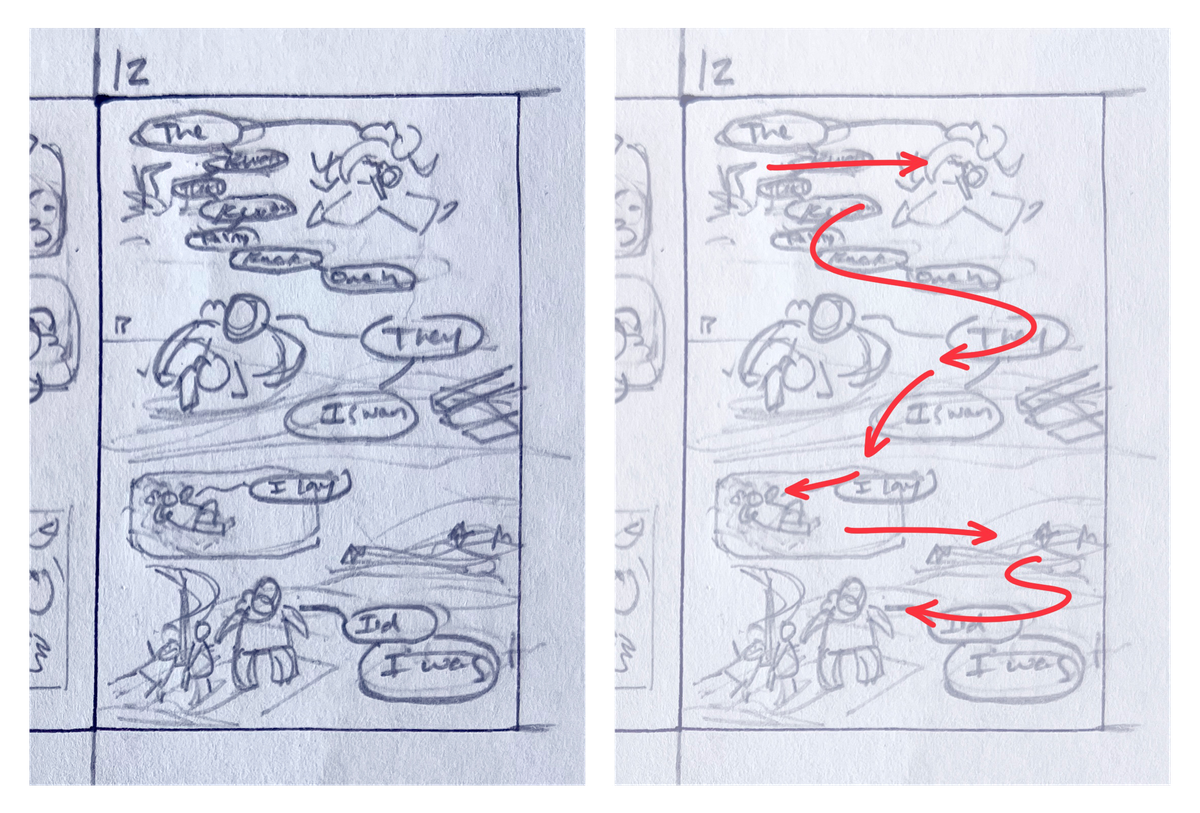
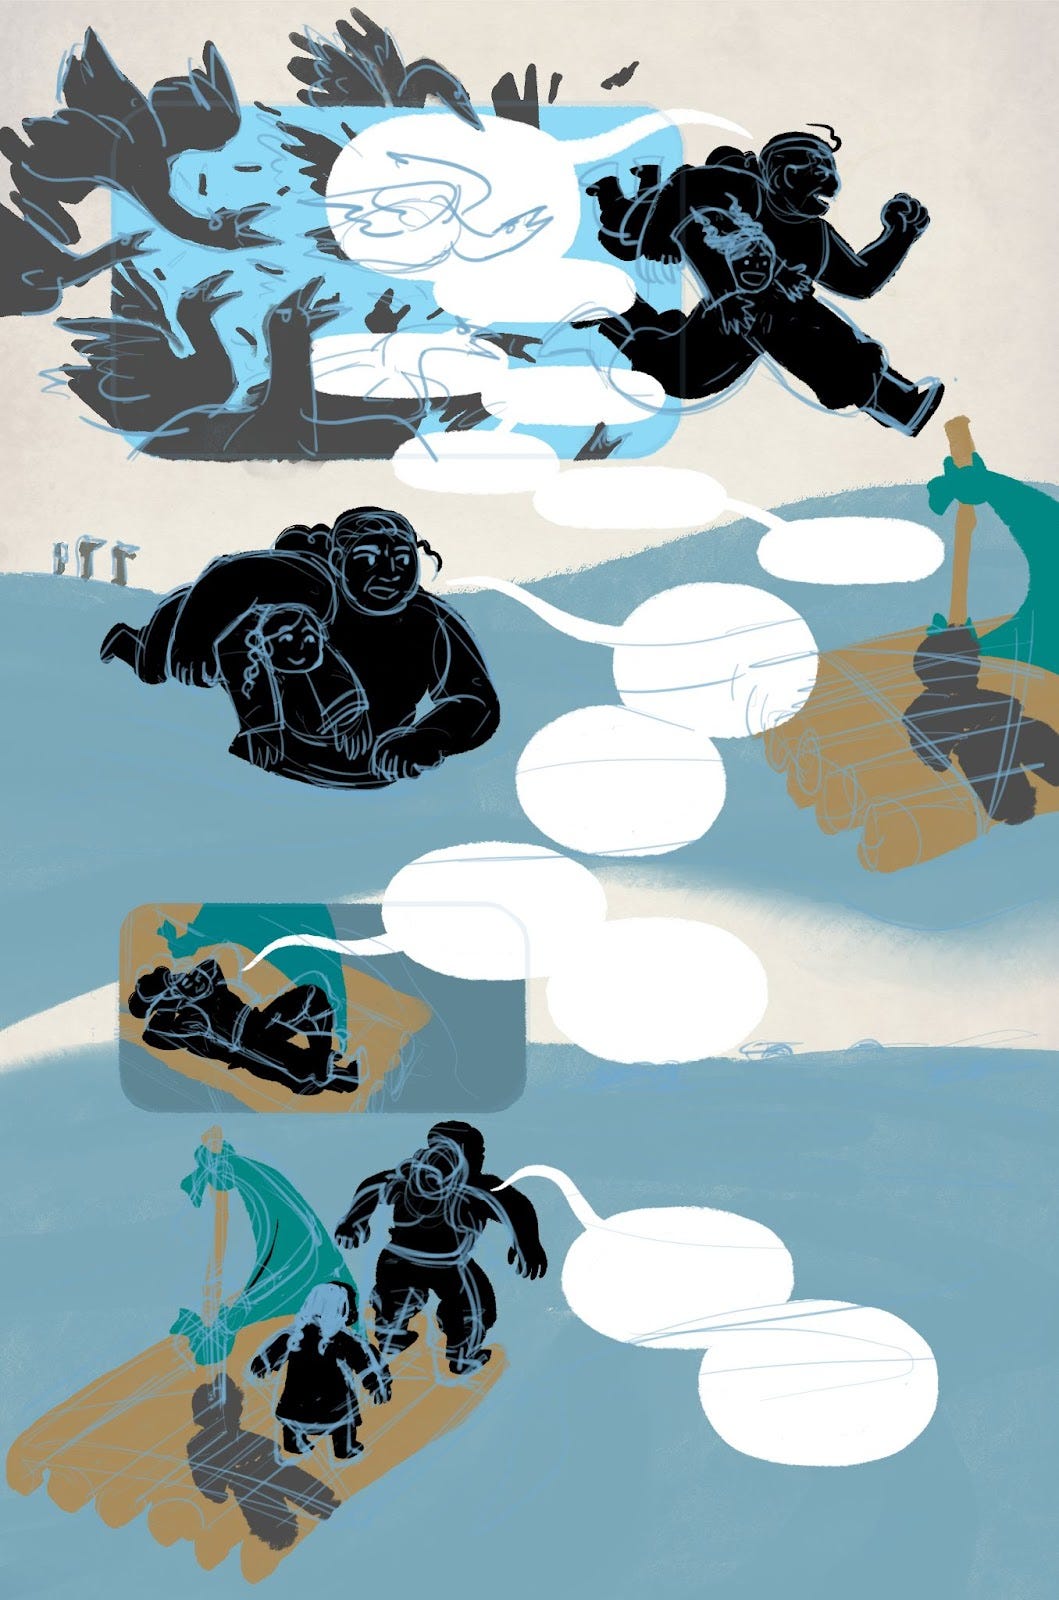
In this page, Lu’s ah-ma Shan tells her a story about one of her adventures. It has dialogue. It has action. It has sound effects. There’s a lot to consider here, which also means there’s a lot of tools I have at my disposal.
One such tool I use to direct flow is the placement of speech balloons. Have you ever noticed how, when you watch a movie with subtitles, you find yourself staring at the subtitles instead of at the action? The human eye is drawn towards text. Text in speech bubbles presents contrast. Dark symbols on a light background offers contrast in value. Small squiggly lines of text against a flat white background offers contrast in texture.
Pointy shapes that resemble arrows, such as the angry stonefowl’s beaks, point the reader towards where they should be looking. In the top third of the page, they point towards Shan and Lu. From there, the speech bubbles move downwards and rightwards before swooping back left, where you see Shan carrying Lu.
As your eye travels to the bottom half of the page, the tail of the speech balloon directs you towards the small panel where Shan lounges on the raft. The bubbles then bring your attention to the dark silhouetted shapes in the distance. Finally, the swirls of water lead you back down to Shan and Lu at the bottom of the page.
While I still prefer my method of figuring out page layouts in the thumbnail stage rather than the script, I discovered a disadvantage to working this way: I don’t know how many total pages I’ll end up with. After my first pass at thumbnails, I ended up with 317 pages, far over the 256 limit I was given. This led to rounds of back-and-forth discussion with my editor as we decided where to cut sequences and consolidate panels. Which scenes could be drawn more efficiently? Which ones weren’t necessary at all?
This is where the sticky notes came in. If a page needed edits, I’d slap a sticky note over the thumbnail and draw directly on it. That way, I didn’t have to erase large sections of work, and I could refer back to anything I’d previously drawn by peeking under the sticky note.
We got the page count down to 246, leaving 10 pages for front and back matter.
Pencils
Tools: iPad Pro, Apple Pencil, ComicDraw
Timeline: 7 months (Jul 2022 - Feb 2023)
Pencils are when I make sense of the scribbles I drew in those tiny thumbnails. I define the forms of characters, props, and environments. I refine the spatial relationship between speech balloons and characters. You can see that the composition established in the thumbnail remains more or less the same. I’m building my page on top of the work I did in the previous stage.

ComicDraw can be a fussy program, but it has one major advantage when it comes to pencils: You can drag-and-drop dialogue from your script directly onto the page, and it will create an editable speech balloon for you. I haven’t found another program with this particular functionality. It’s a godsend when you’re trying to plop dialogue onto pages as quickly as possible so that you can focus on composition.
Inks
In most comics, the artist moves on to inks, or lineart, after pencils. Most comics artists have an inking stage in their workflow. I normally work in a lineless, painterly style, so I usually skip inking. The exceptions are the few pages where someone’s telling a story. In those cases, the “story” imagery is lined, while the “real world” characters remain lineless.
Flats
Tools: iPad Pro, Apple Pencil, Procreate
Flatting is the stage when the elements on the page are separated into distinct parts and filled with a solid color, or a flat. Flatting has a slightly different meaning for my process than it does for creators who have an inking stage. For me, it means blocking out the characters’ silhouettes and the major shapes of the surrounding environment. I combine flatting with coloring.
Colors
Tools: iPad Pro, Procreate, Adobe Photoshop
Timeline: 15 months (Feb 2023 - May 2024)

I lock the character layer and block in the characters’ colors. I created a character lineup and chose their palettes before coloring any pages so that I could refer to the lineup as I draw. I made Lu’s hair a solid black. She’s the center of the story, after all, and you can’t help but look at her when her hair is the darkest thing on the page.

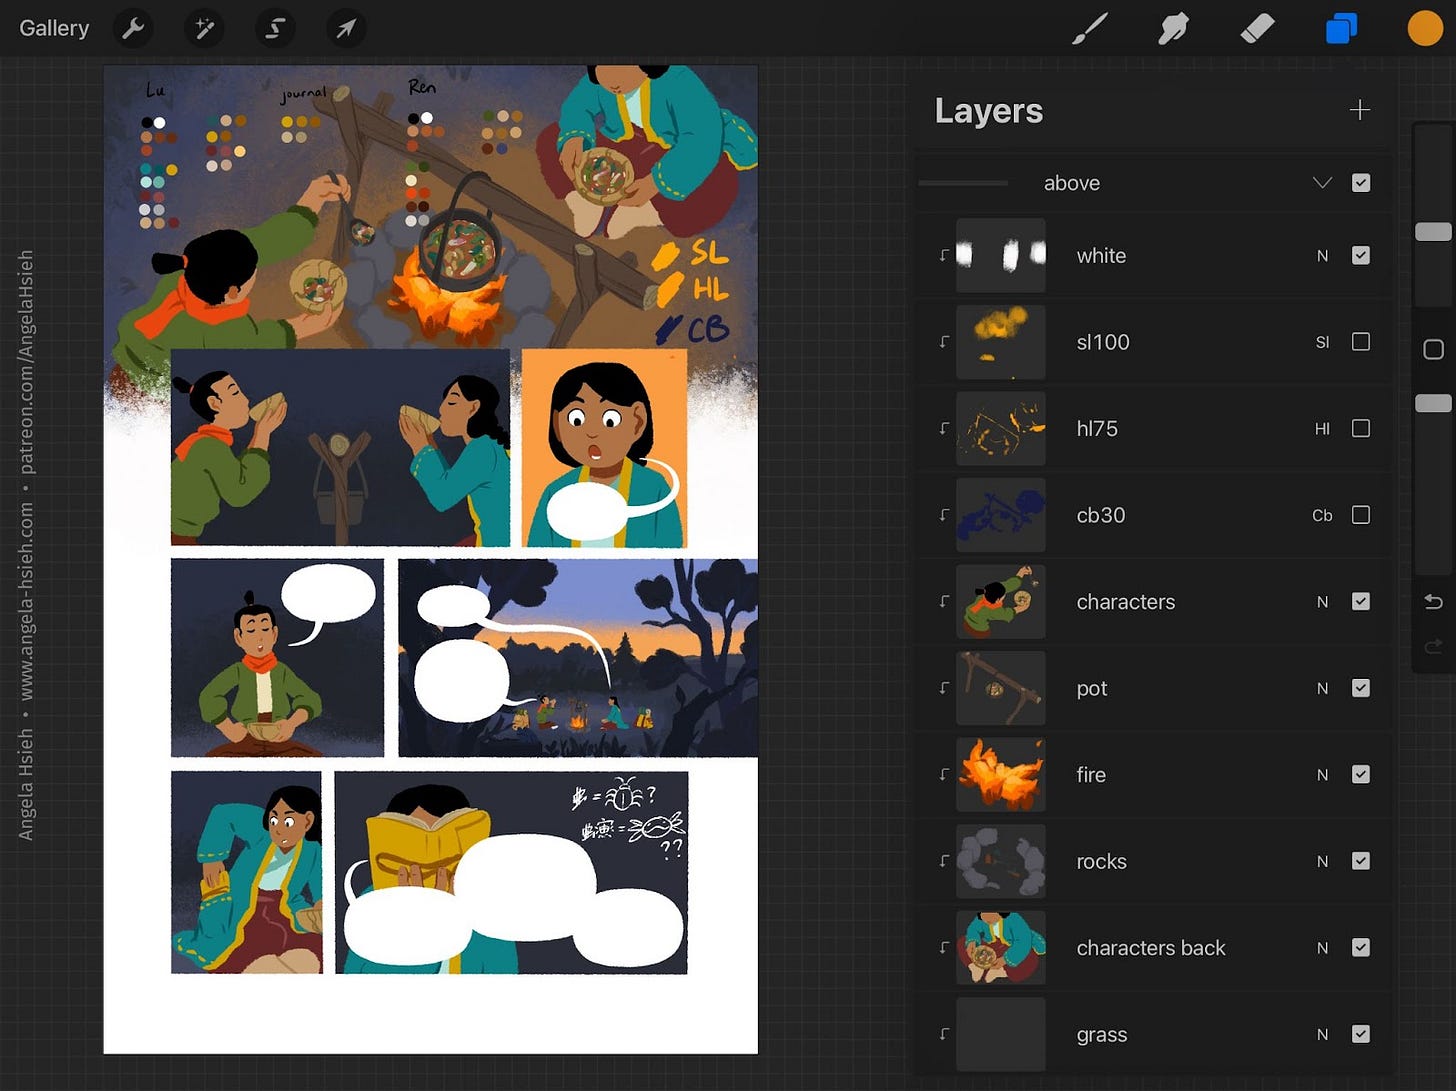
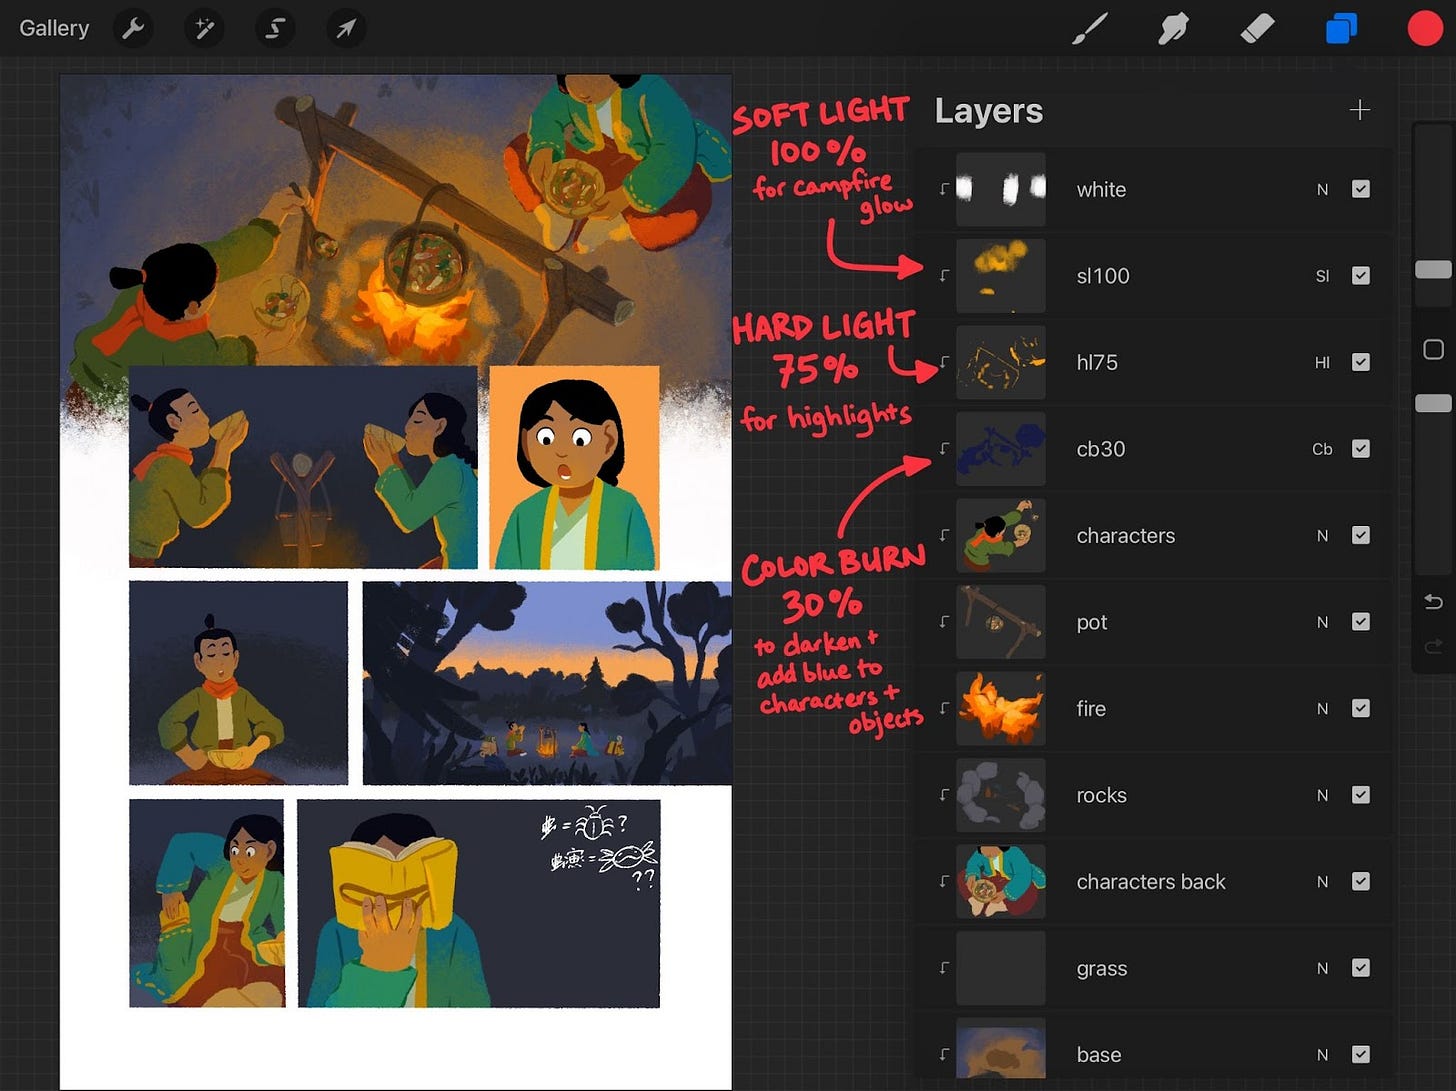
I decide on the scene’s mood and time of day. From there, I determine the color of the light and the color of the shadows; the two are usually complementary. All other color choices for the rest of this scene follow this established logic.
The characters’ base palettes are chosen based on how they would appear in neutral white light. Most scenes don’t take place in neutral white light, so I use layer modes to adjust the characters’ colors so that they harmonize with their environment. Below is an example of a nighttime scene around a campfire that shows the effectiveness of layer modes.
A word of caution about tools: While I chose Procreate for its abilities as a digital painting program, it’s not designed to be a comic creation program. It has its weaknesses when it comes to creating comics, such as a lack of dedicated paneling tools, no speech balloon tools, and no true CMYK mode. Every program has its own strengths and weaknesses. I encourage you to try out as many tools as you can to find what works for you.
Lettering
Tools: Calligraphr, Adobe InDesign
Because I laid out my speech balloons in the penciling stage, lettering was fairly straightforward. I used a program called Calligraphr to create a font out of my handwriting. Calligraphr allows you to export the font as an OTF (OpenType Font) file, which I sent to my designer Kathy. Kathy used Adobe InDesign to place the dialogue into the speech bubbles.
For sound effects, I hand-lettered. There are entire books dedicated to lettering, but it’s another one of those things that’s outside the scope of this article.

Some Final Thoughts
While I hope this article has somewhat illuminated the process of making a graphic novel, I admit that it can make it all sound much more straightforward than it actually was. I had to go through the process of making mistakes as well, in ways both expected and not, and I’m sure I’ll have to go through some version of that again with my next book.
As with any “how-to” on book creation, I speak from my own experience and what worked for me. Other creators will approach their craft in their own way, and sometimes those ways are unfathomable to me as I’m sure my way is unfathomable to others. The key is to experiment. Make your book and learn what works for you.
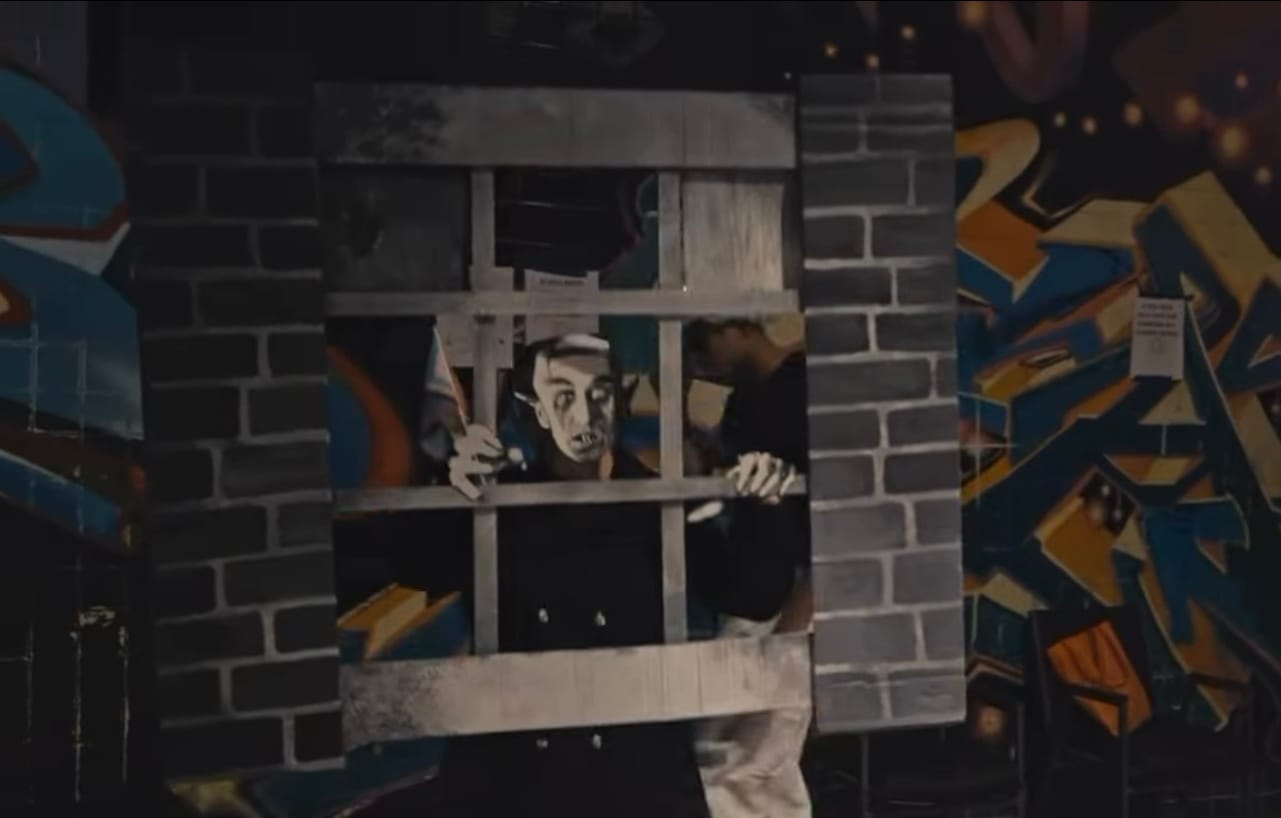
For those who wanted to see my Nosferatu Halloween costume. It was entirely made of cardboard, hot glue, and prayers.
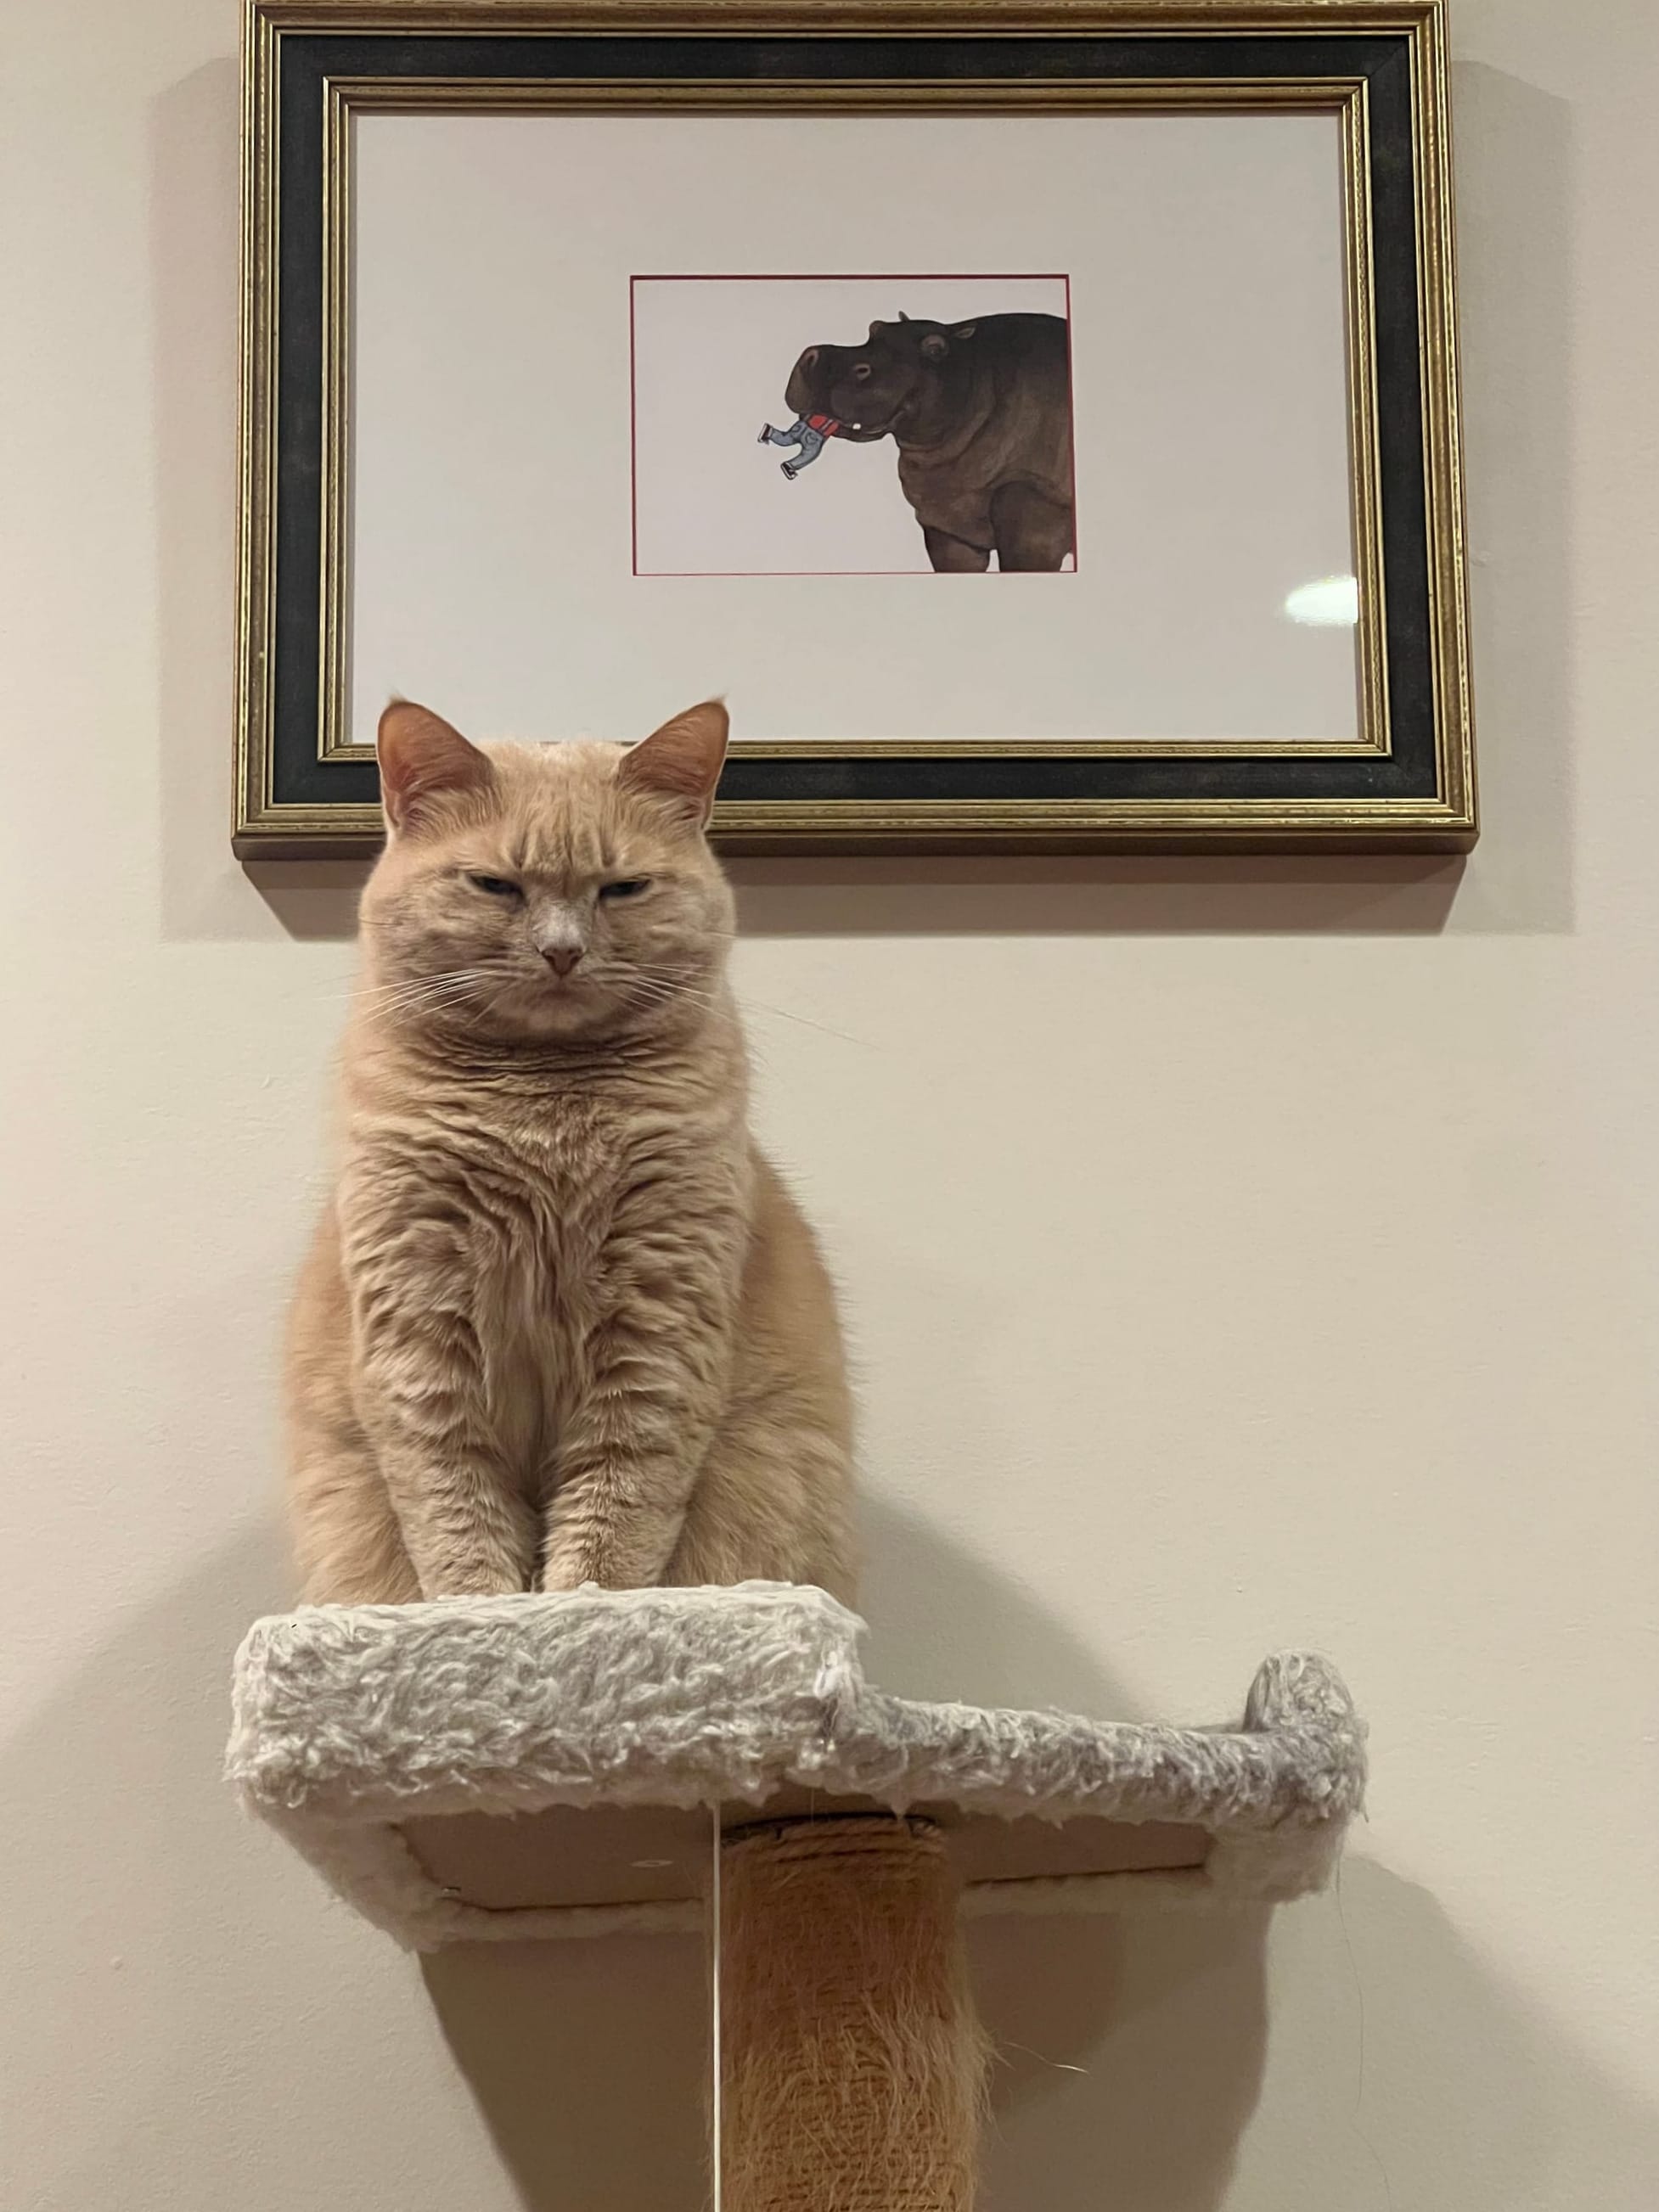
It's Audrey's turn to pay the cat tax this month:
Happy Thanksgiving to all those who celebrate!
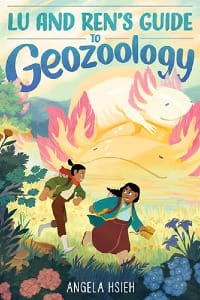
You can now get a copy of Lu and Ren's Guide to Geozoology wherever books are sold! I recommend getting it from Bookshop.org or directly from your local independent bookstore.
RESOURCES FOR OUR TIMES
It’s a highly uncertain time right now, not least for our unhoused and our migrant neighbors. I urge everyone to inform themselves of their rights and their neighbors’ rights, and to be aware of what to do if you see someone being detained. Stay safe, and keep each other safe.
Migrant Solidarity Mutual Aid (DC-MD-VA area) - look into mutual aid groups in your own communities
SALUTE zines (covers many major metropolitan areas in the US)
ACLU’s Know Your Rights
5 Calls
Gaza Soup Kitchen
Your local food bank
If you'd like to receive this newsletter in your inbox, subscribe below! If you’re inclined to throw a few dollars my way and you want exclusive/early access to what I'm working on, you can support me on Patreon. This newsletter, wherever it’s hosted, will remain free.